Explainer Animation
Overview
For this project I was tasked with creating an animated video that explained anything. With a recent project I filmed taking place in the 1600s, I was inspired to create this animation explaining the Plimoth Patuxet Museum.

Script and Storyboard
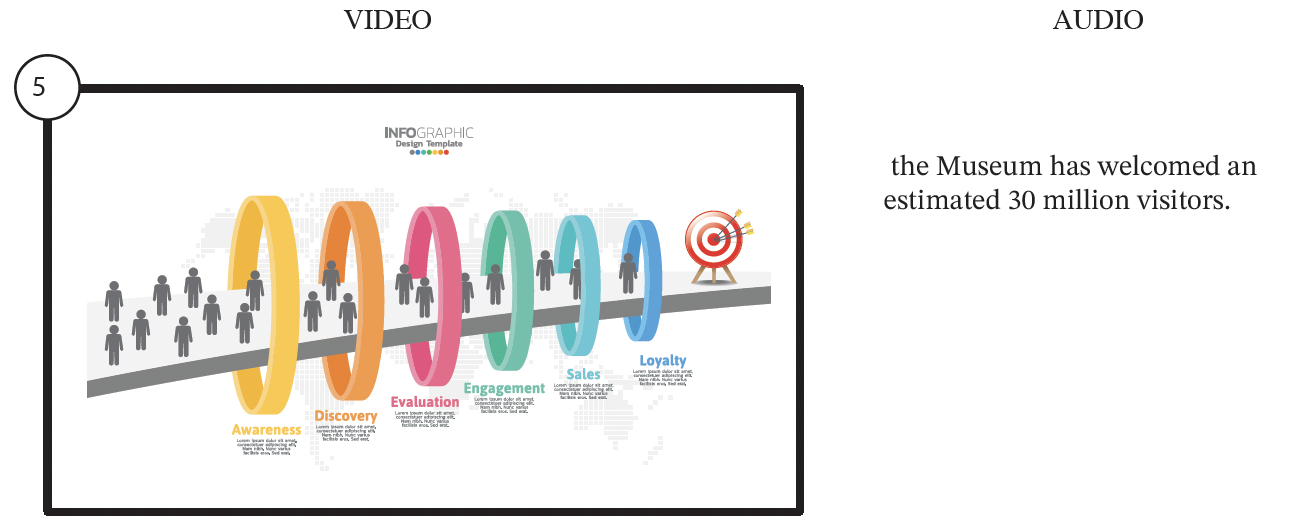
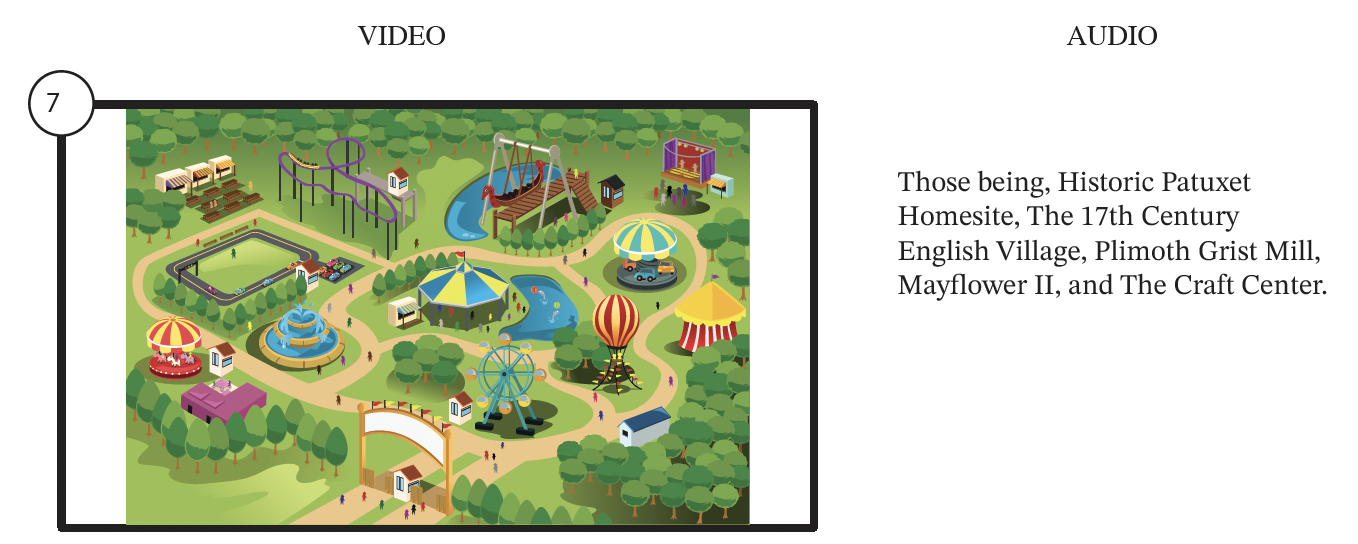
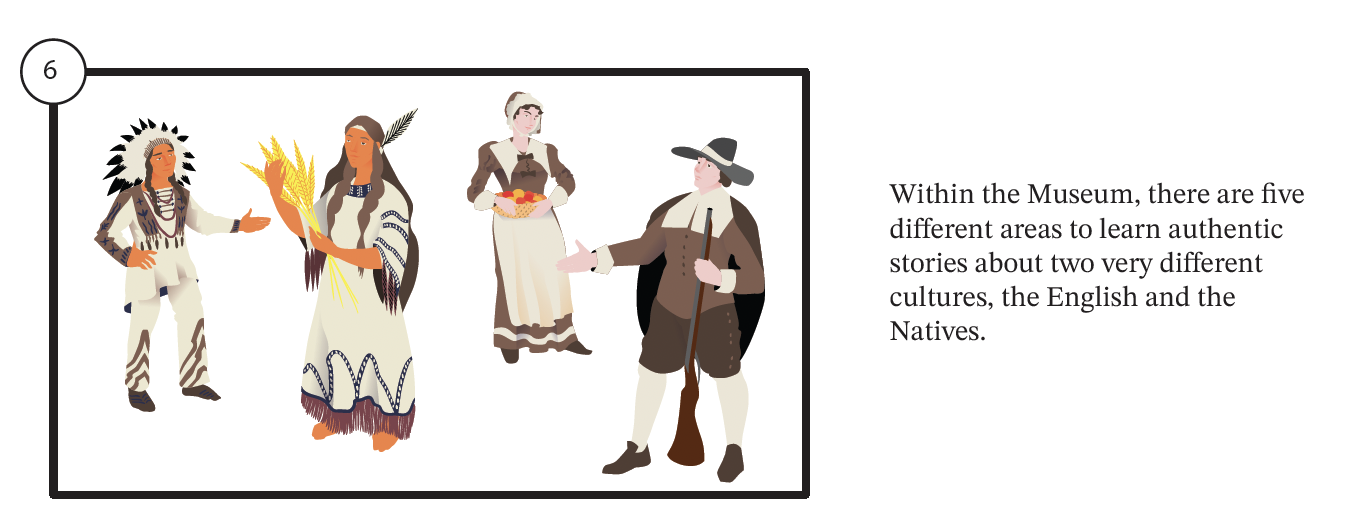
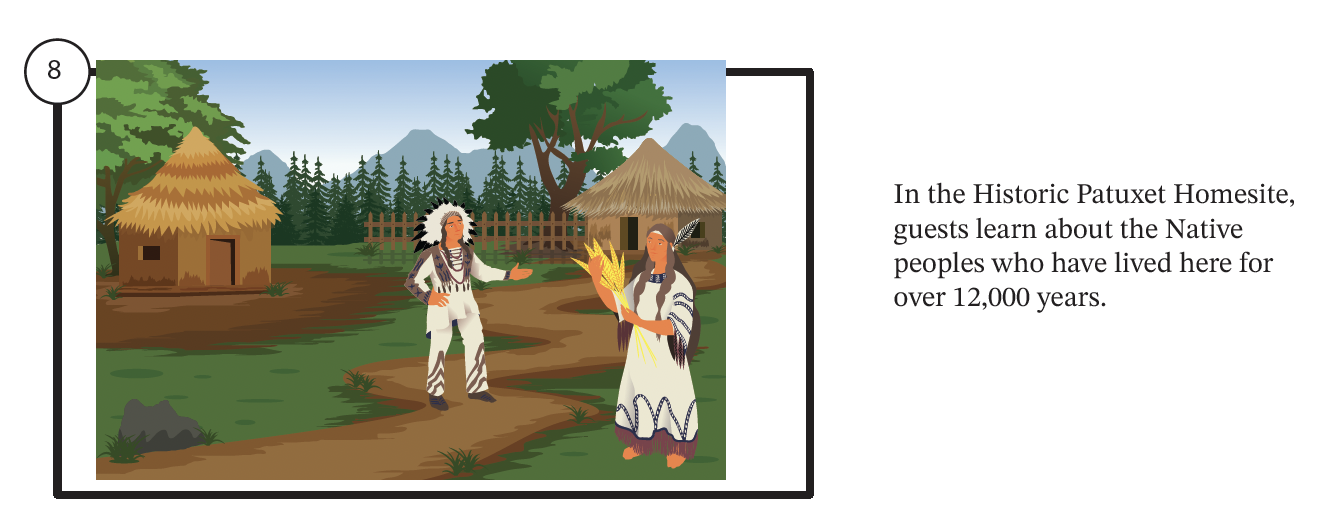
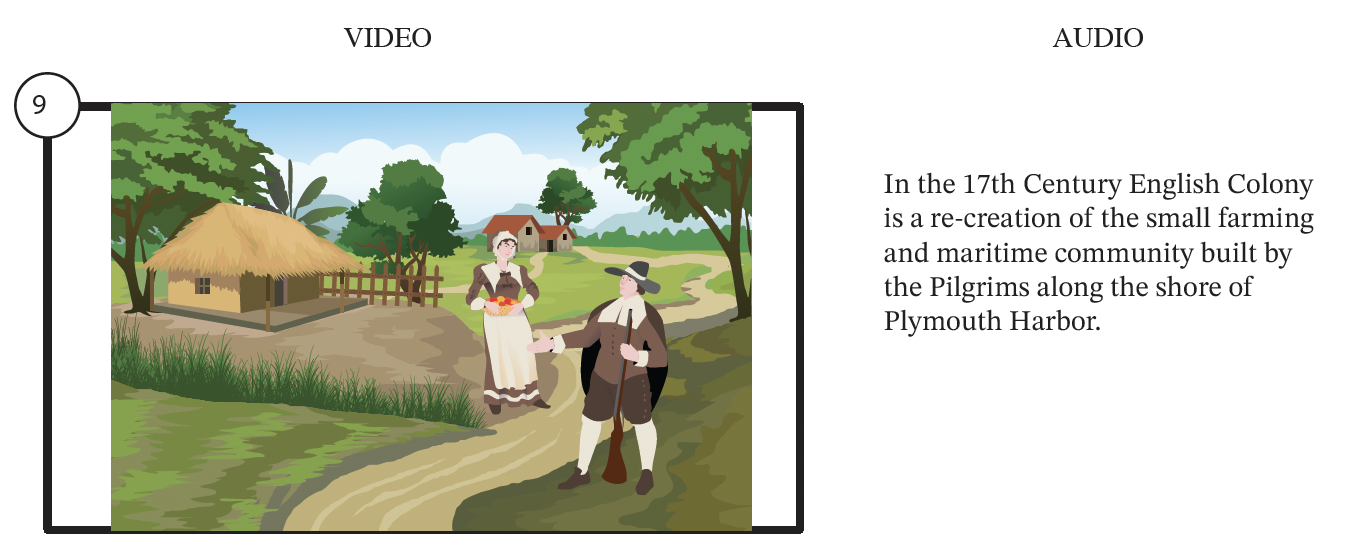
To begin the project I did some research into the museum and came up with the general beats that I wanted to hit in the video. Those beats being, History, Statistics, General Overview, Specific Areas in the Museum. With these topics in mind, I created a script that told the cover every topic I wanted in a seamless way. Once the script was ironed out I was able to create a storyboard that would lead the rest of the project. With this storyboard I found the art style that I wanted to use throughout the video. This was important because I needed to make sure that the art style was consistent with every element in the video in order to be cohesive.
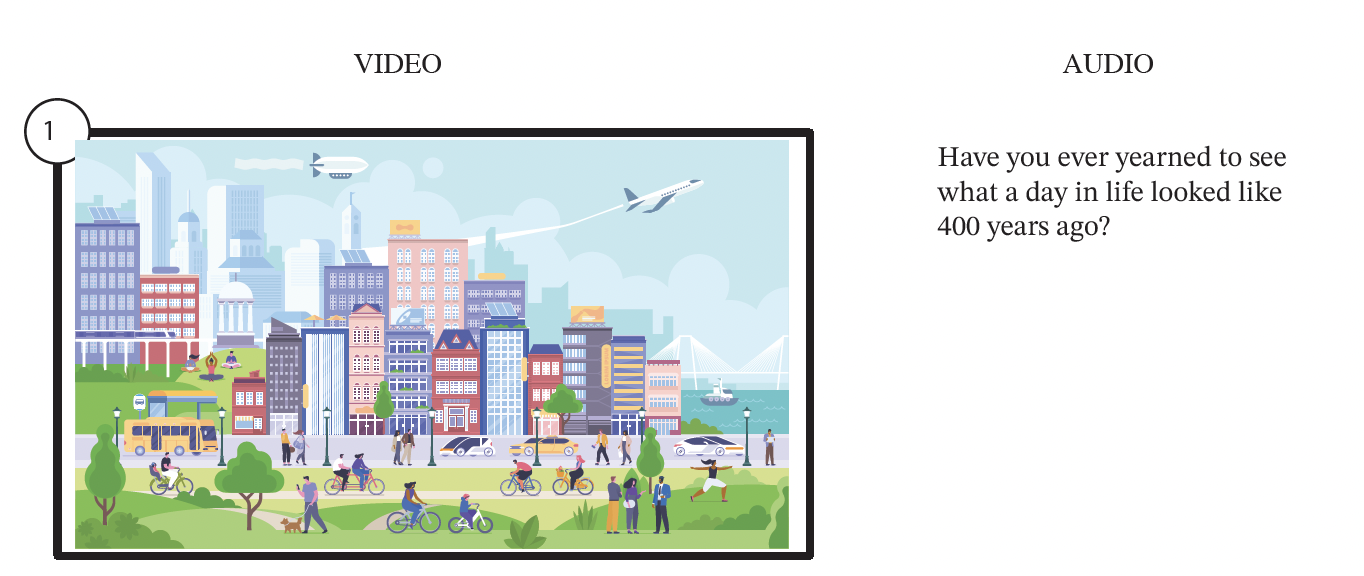
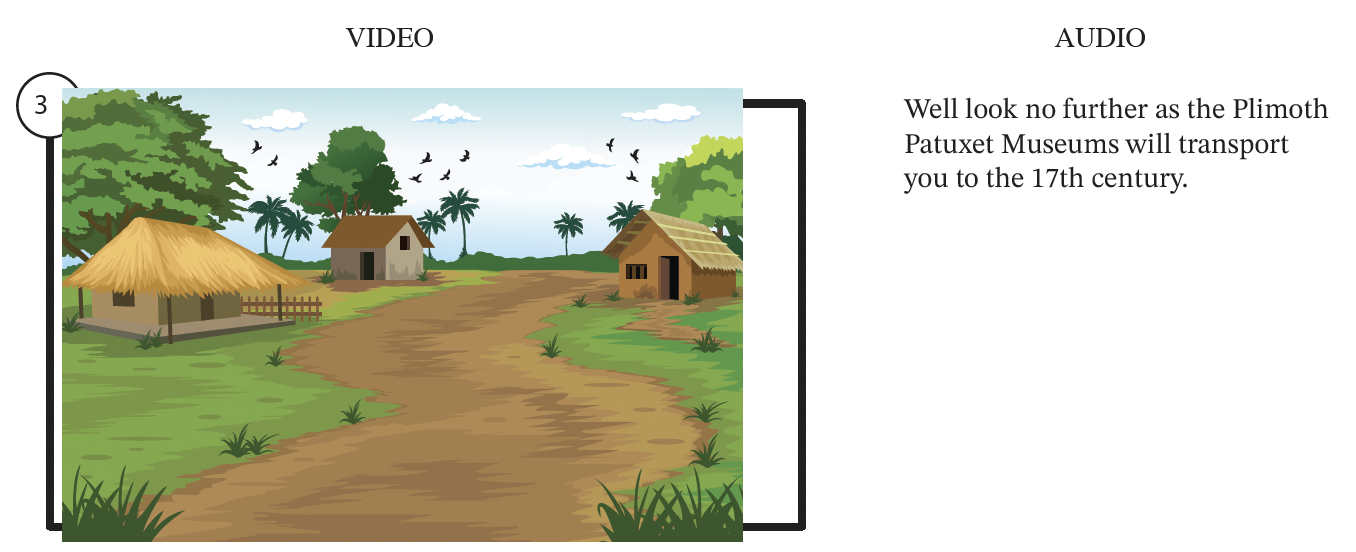
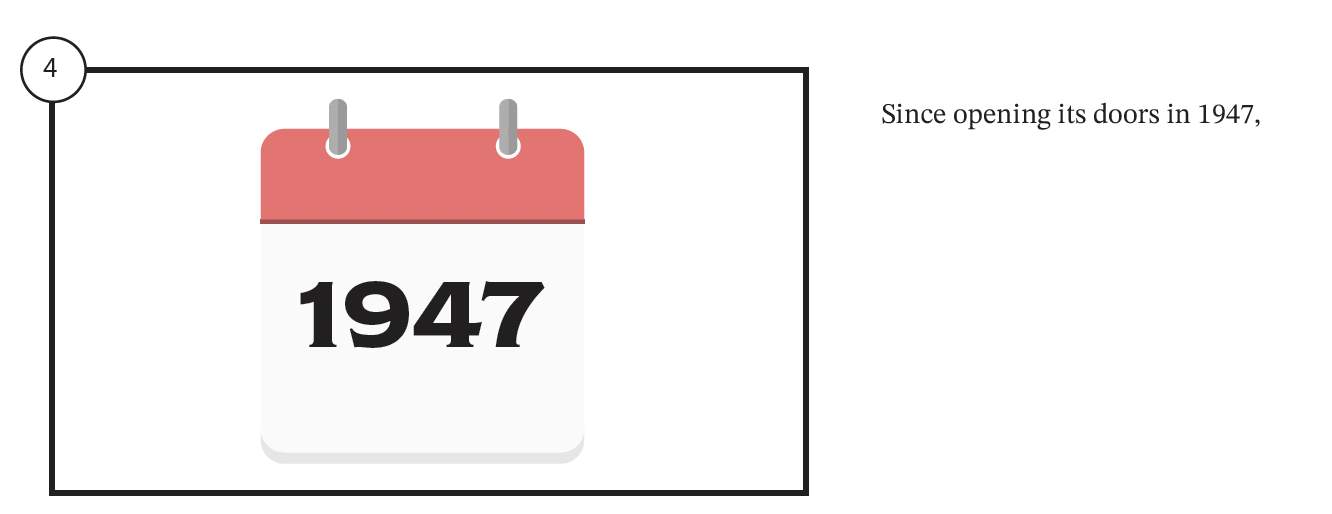
Putting the Pieces Together
With the script and storyboard in hand, I began to build the scenes using adobe after effects. I knew from the start what effects and techniques I would need to achieve there look I was going for.
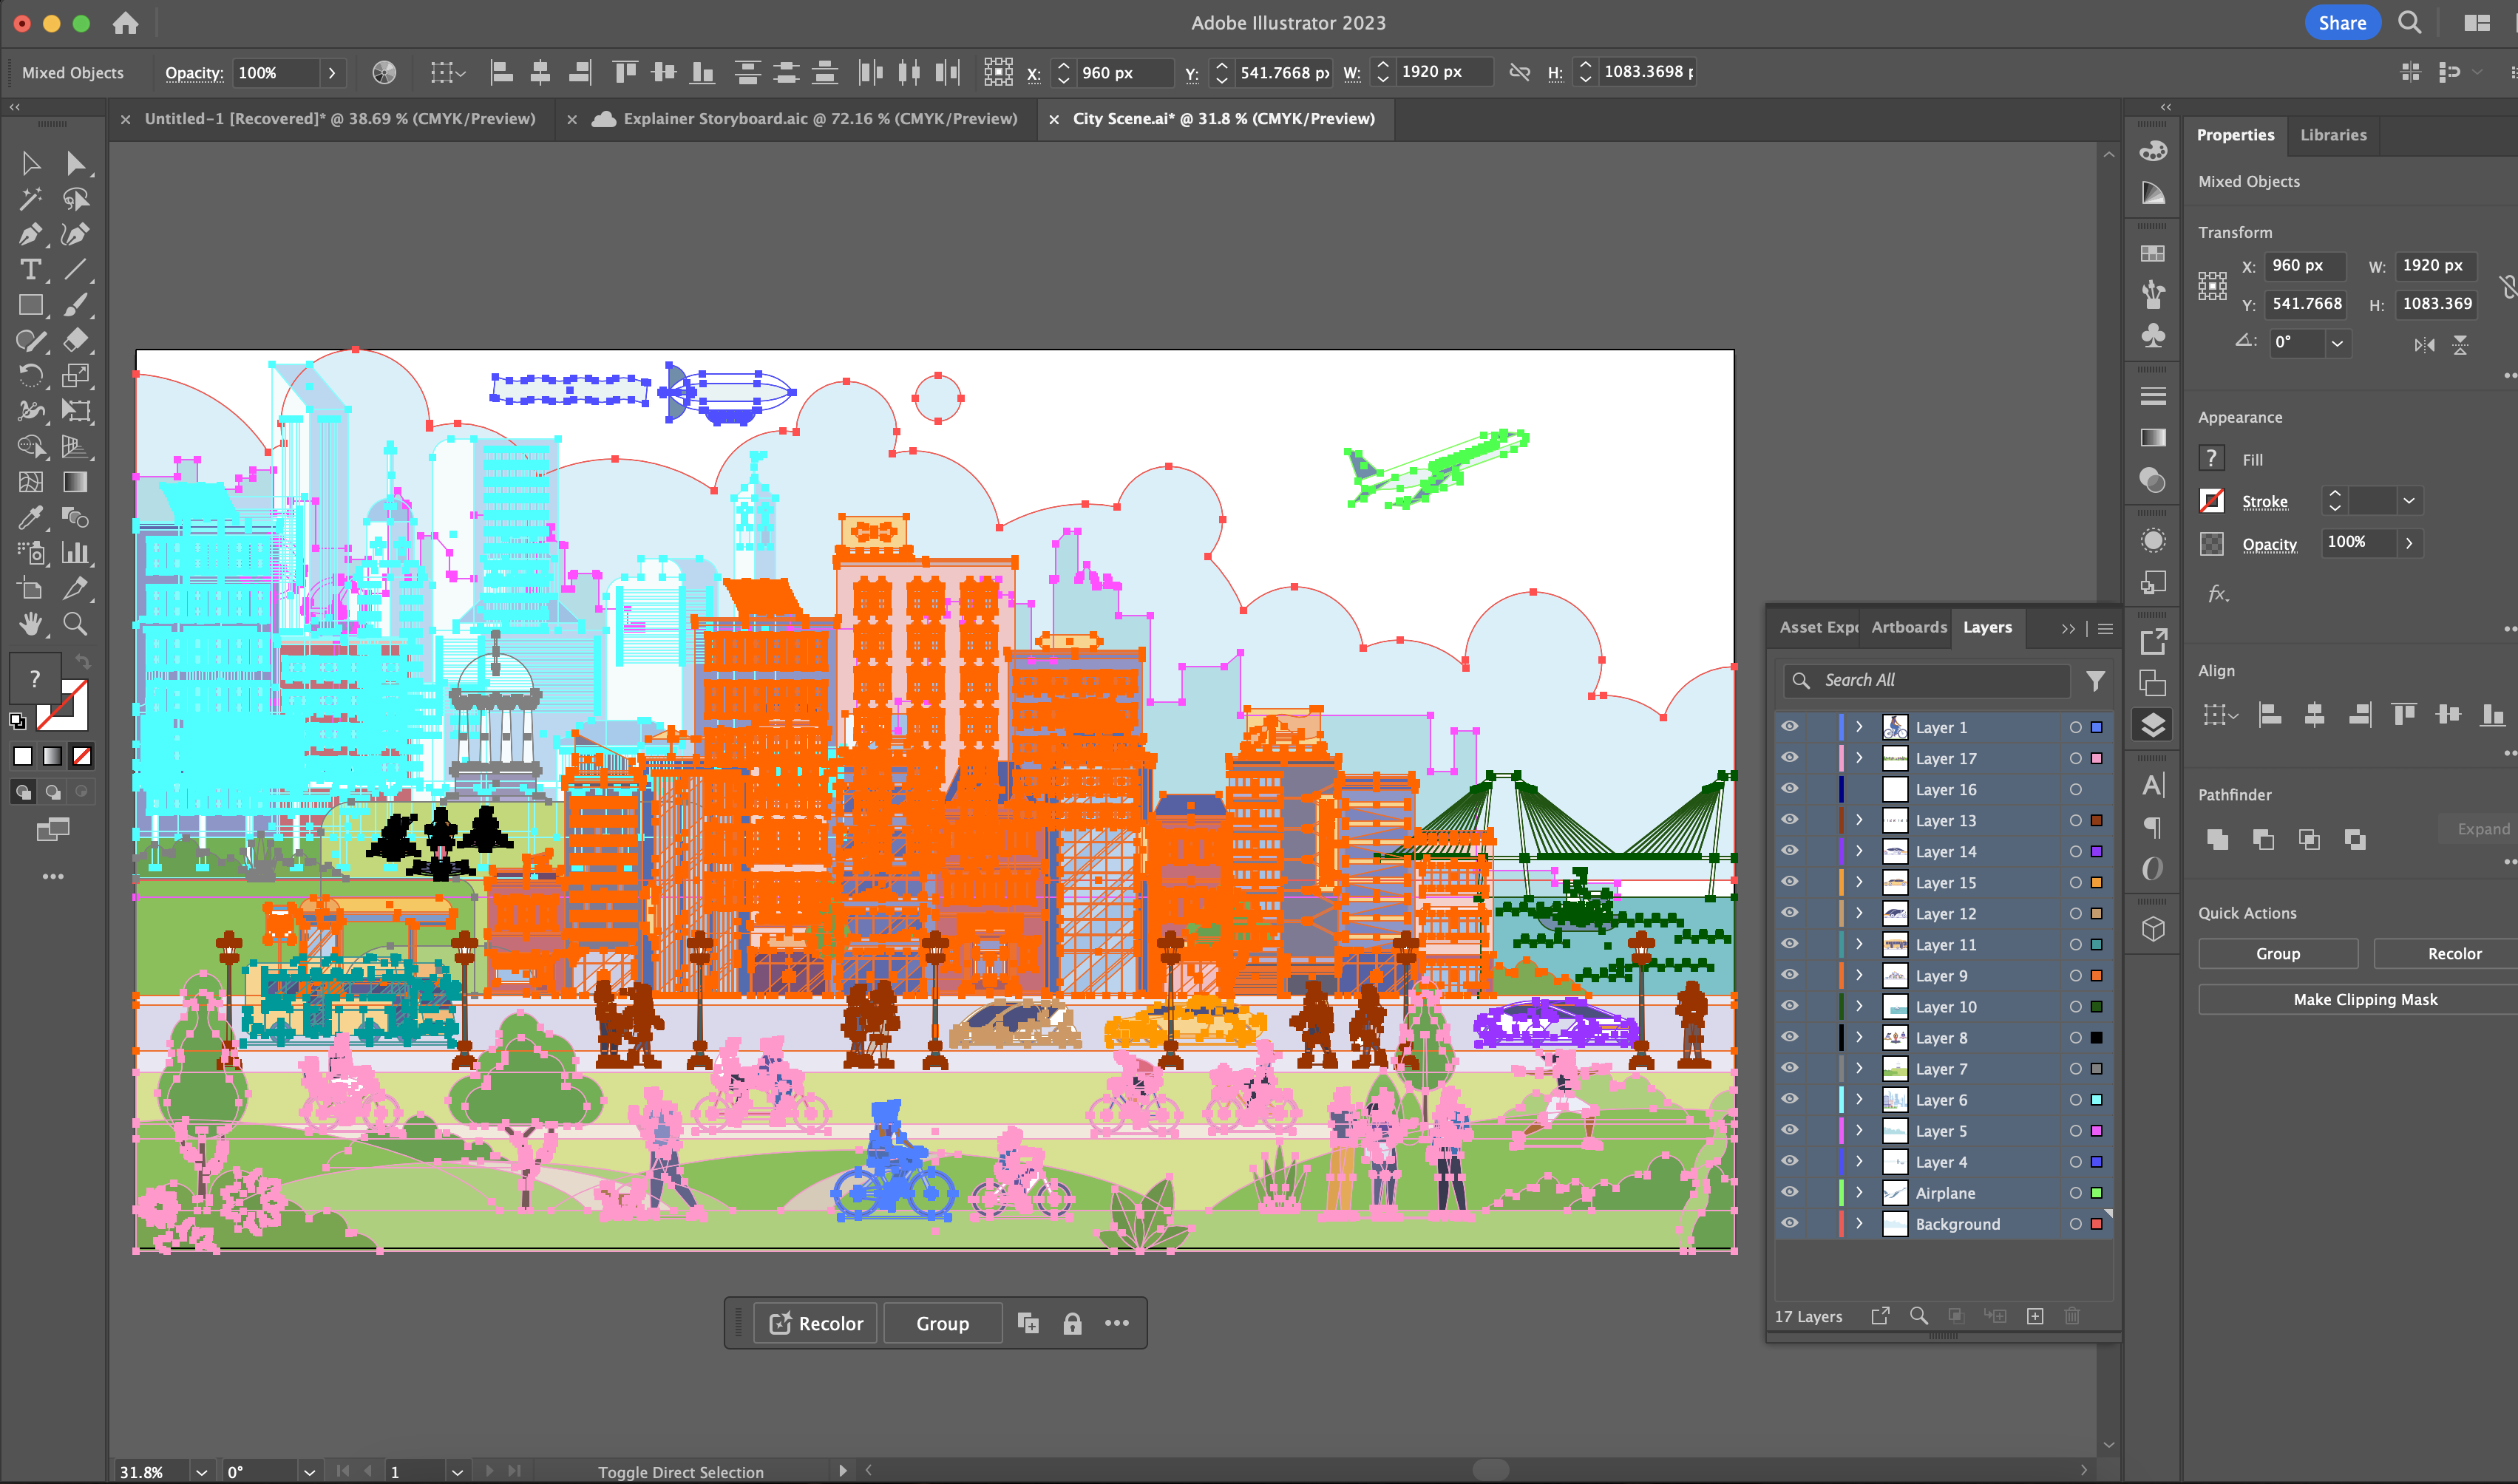
For most of the scenes I did a parlaxing effect that would help bring these still images to life. To do this I would separate the illustrator drawing into various layers that would then get imported into after effects and be stacked on top of each other. This is done so that when the camera moves around the perspective of the individual layers are displaced independently.
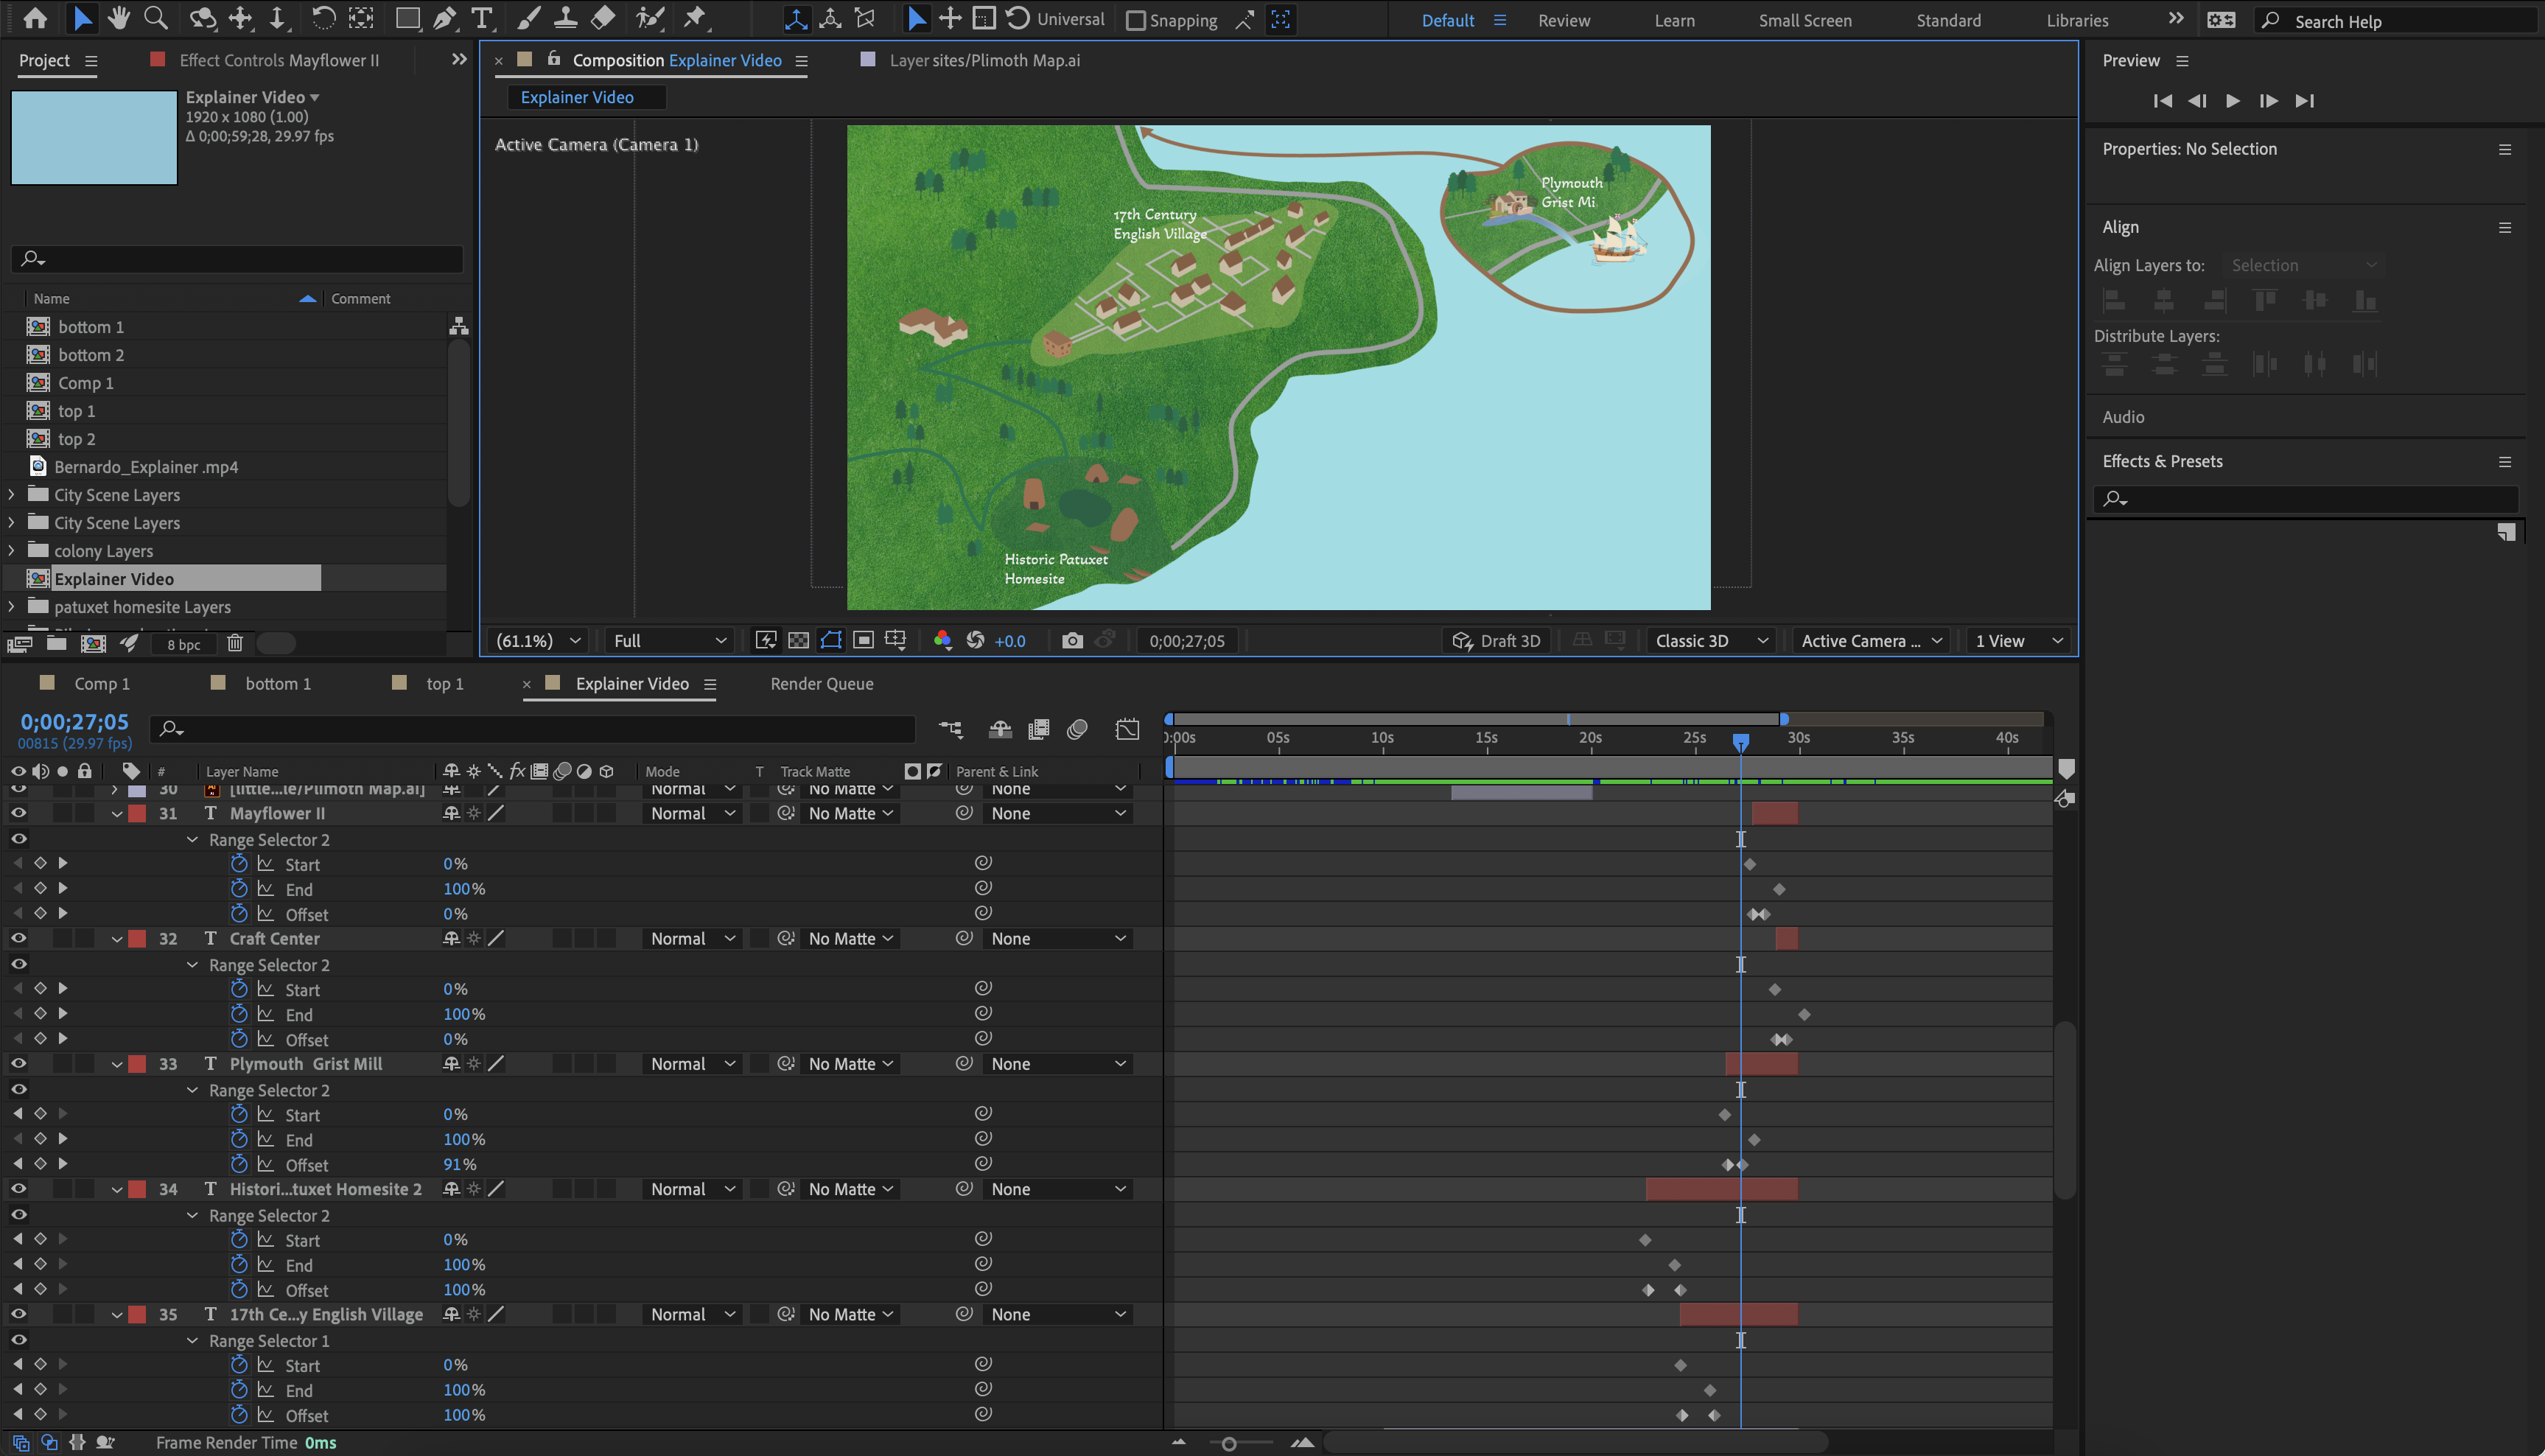
Some other effects used were for the type that would appear on screen. I added an animator to the type to allow me to have the text appear as if it were being typed out in real time.
After creating the various effects and importing all the necessary illustrator files, I was able to add in some music to make the voice over even better.
With all that said, here is the finished animated video!
Final Product
If you have any animated video that needs to be created, you know who to contact!

